Showing posts with label thrifting. Show all posts

Saturday, November 19, 2011

Thrifty Finds

Goodness!

I feel like I'm brand new to the blogging world again! Remind me never take that long of a break from my blog ever again!

Well, I don't have a finished project to share today, but I did spend the morning hitting up some Gee-Double-Yuhs and garage sales with my mom.

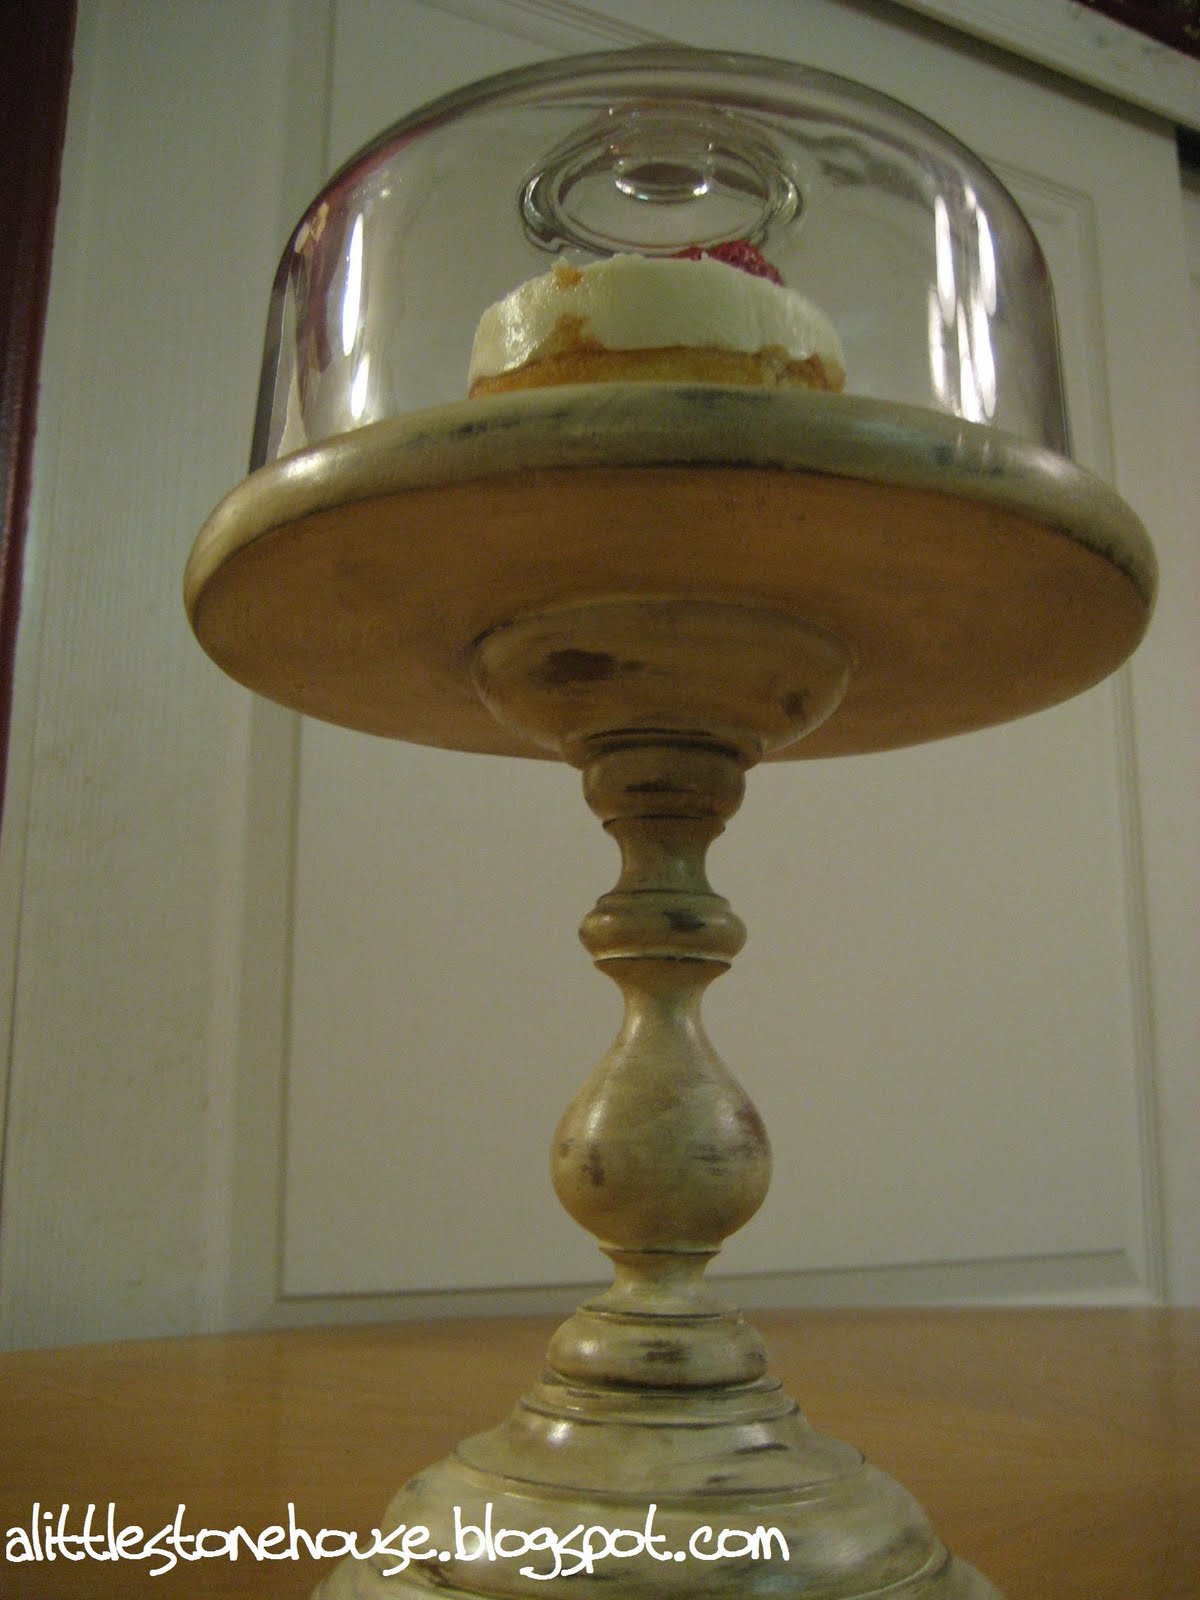
Here are a few little treasures I found today:


How much? Less than $13.00!

What do you think? Some sanding, spray paint and a little love... they'll be all prettified again!

I haven't nailed down exactly what to do with them yet. Any suggestions?


Photobucket

Tuesday, January 11, 2011

Magnet Chalkboard

My friend Tiffany moved to New York the day after Christmas. ***silent sobs*** And although she will be missed immensely, I know this will be a great adventure for her and her family!

Well, because she is moving all the way across the country, she had to get rid of a lot of stuff so they won't have to move it all. She was nice enough to let me have first dibs on most of the stuffs she was parting with in exchange for doing whatever she needs for her hair for free. A pretty dang good deal if I do say so! I'm all about bartering! I got 3 wood saws (these will def come in handy for some ideas I've had in mind), a Dremmel tool, some home decor stuff, a refrigerator, just to name a few. Thanks Tiffany!

Among all the stuffs was this picture frame.

There was no glass in it, but I loved the details in it. I wasn't sure about what I was going to do with it until I remembered my dad has a ton of sheet metal scraps. He and my brother build custom chopper style trikes and always have scraps of sheet metal. So I had him cut a piece down to fit the frame.

I was just going to make it just a plain magnet board, but changed my mind and wanted it to be dual purposed. So the sheet metal got a couple coats of Rustoleum chalkboard spray paint:

Then the frame got a coat of black paint:

Then a couple coats of Heirloom White,
distressed the details a bit with sandpaper so the black would show through just a tad:

Put it all together, and I have a super cute magnet/chalkboard!(sorry...not the best picture...)

YAY!

The best part is, I did it all for FREE! (I had all the paint on hand.)

Don't you love projects like this??? Cheap/free and easy!

I even made some cute bubble magnets to go with it:Oh, joy!!!

What have you been working on lately?

Linking up:

Today's Creative Blog HOG My Craftie Life Anything Related Make it Yours @ My Backyard Eden CreativeShareWednesdays Hump Day link Show and Tell Green Domestically Speaking

Wednesday, September 1, 2010

Another Cloche Call...(and a possible giveaway?)


Well! Heavens to Betsy!


It feels like I haven't posted anything in ages! So much has been happening in such a short amount of time. We put offers in on 2 houses, the Hubs is putting in some mandatory overtime, the Jedi is really getting into schoolwork now, the other 2 little ones need mommy-time (all the time), and I started working again last week at a local Salon & Spa. They have me almost every night of the week, so squeezing in a post here and there has been a little but of an obstacle, not to mention coming up with things and projects to post about. *sigh* I guess it's true that a mother's work is never done...especially if she has gone back to work.

BUT...here I am! We're getting into the groove of things again over here (despite all the busy goings on), and I was able to get a few things done!

Now, as some of you may know, I have promised to become a Stashbusting Blog for the month of September. What this means is I cannot buy any new craft supplies this month. I may only use what I already have in my stash. Hard stuff, but I know I can do it!

In the middle of August, I did one of my routine trips to the Gee-Double-Yuh for 50% off Saturday, and came home with this great stuff:
I got all this great stuff for $23!!! The pendant lights alone were worth the $$$. They were only $5 a piece, but more on those guys another time. Today, we're talking about this lovely:
Now as fascinating as these clocks are, this gal just wasn't cuttin' it for me, but for $2.99 I decided to take her home anyway. Little did she know that she was coming home with a cosmetologist, and makeovers are our specialty! So I stripped her bare:
(Oh! I feel so exposed!)

Gave her some new makeup and (of course) a mirror to look in:
(Mirror: 99 cents @ Michael's, Rustoleum Heirloom White:Not pictured)

A pretty new bow:
And... voilĂ !!! Look at her now!
Big improvement huh? What makeover would be complete without the before and after shots?
Before

After!

Is she not divine? *happy sigh* I love a fast and easy makeover! Minus the dry time this probably took 15 minutes to do, and for only $4! Awesome!

Now... what shall we accessorize her with? Any ideas? Accessories never were my forte.

On another note, I have been thinking about doing a giveaway for my fabulous followers once there were 50 of you, but I may be forced to do one sooner. I was approached by some super cool people who saw my blog, liked what they saw, and offered to sponsor a giveaway! eeeEEEEeee! Isn't that exciting? We're brainstorming what we want to do, so stay tuned for your chance to win!

Thanks for stopping by today!

In an effort to follow proper etiquette and show my appreciation to the hostesses, I will now be posting my Linky Parties directly to my posts. Have a lovely day!

The DIY Show Off
The Girl Creative
Get Your Craft On Tuesday
My Craftie Life
BWS tips button
Show and Tell Green


Creations by Kara

Make it Yours @ My Backyard Eden

Monday, August 2, 2010

For the Love of Cloches!

So, I've seen these cheese domes turned cloches floating around in BlogVille, and from the first time I saw one, I knew I had to make one of my own!

So, I took the cheese dome from my Diamonds in the Rough, a Gee-Double-Yuh candlestick, and a 5x5 wood plaque from Michael's and started to construct.


First, I had to take the glass votive off of the candlestick, then I glued the cheese plate to the top of it. I then took the 5x5 wood plaque and glued it to the base. I did this for stability. The candlestick alone was too tall and too small at the bottom to support the heavy top once the cloche was placed onto it.
(I used Gorilla Wood Glue...it doesn't swell like regular Gorilla Glue.)


When the glue was dry, I sanded and then primed the stand using Killz 2 primer. (Sorry for the lack of pictures on the next few steps). I used good ol' Heirloom White to paint the whole thing. When it was dry I distressed the stand using sandpaper and glazed the whole thing with MinWax Dark Walnut wood finish. The end result looks like this:


Isn't she pretty??? I really like her, but I'm questioning whether or not she would have looked better without the glazing. Hmmm.... I guess I can always change it, but for now, I think she looks stunning! Here is a breakdown of the cost:

Cheese plate $2.99
Candlestick $1.49
Plaque $1.29
Glue, primer, sandpaper, paint, glaze: Had on hand

Total price? $5.77!!!

Not too shabby, eh? Let's take a look at her again:


I love it!... Now I just need to find a good place to display her! Ahh....Cloche Love!!!

I missed the Summer Cloche Party on July 15th @ A Stroll Thru Life, but I hope I will still be accepted as a member of the club! ;)

Do you have a love for cloches too?


I'm linking up to these fabulous parties!